
Replacing carpet can be an expensive project, which is why you’ll often see homes with old carpets that look like they have been down for 25 years. A lot of people think replacing a carpet can only be done by professionals when, in fact, it’s not that hard of a job if you have the right tools. The easiest way of getting your carpet replaced is to hire a professional, but if you want to save some money you can go through the following steps that will give you an insight as to what’s involved in the process.
 Step 1 – Make Sure You Have the Right Tools

Whilst you will be able to save money by fitting your own carpets, there are a few tools that you will need to get started. These include:
- Carpet stretcher – Sometimes known as a “kicker”, you will need one of these tools to stretch the carpet so there are no bubbles underneath.
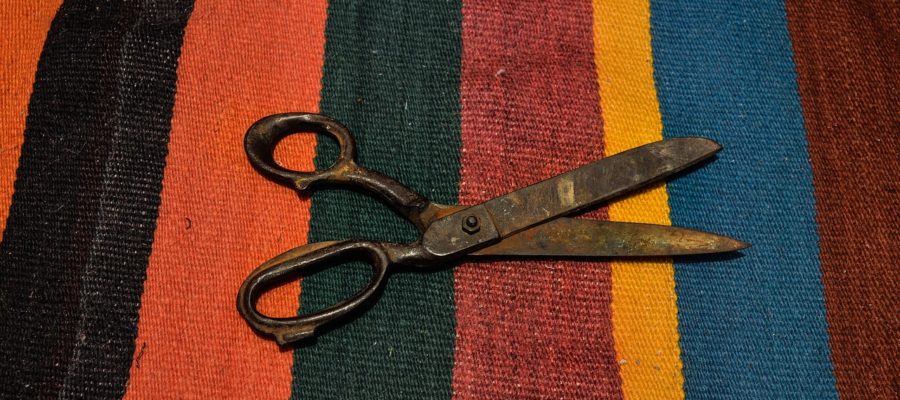
- Knife – Two knives would be better as it’s easier to complete the job with a hook blade and a straight blade, and it will save you from needing to change blades all the time.
- Bolster – You will need a bolster to push the carpet between the gripper and skirting.
A few other hand tools such as screwdrivers and a stapler will also come in handy. These can be purchased from a building supplies Mississauga company.
Step 2 – Remove Existing Carpet
By using a knife with a hook blade inside, simply cut your existing carpet into strips and remove it. If you are trying to save money, you will want to leave the old gripper and underlay down, unless it is completely unusable.
At this point, it’s also a great idea to replace the door bar if you do not think it can last for another 10 years of service.
Step 3 – Prepare the Floor
If the floor already has gripper down and its underlay is in good condition, you can simply have a look around to make sure everything is perfect. If not, you’ll need to replace the necessary materials to make sure the floor is completely flat and ready to take new carpet.
Step 4 – Fit the New Carpet
Once you have chosen the new carpet, it’s time to get it up and unroll it in the room. Once you have got the carpet straight and there is enough to cover the floor area, it’s time to cut the waste off using a straight blade to give you more room to work in.
Concentrate on one corner of the room at a time and then stretch the carpet to the next corner whilst cutting and fitting the carpet. That way, you’ll get a nice flat finish with no bubbles or stretch marks. As long as you don’t cut the carpet short, there isn’t much that can go wrong.
Step 5 – Vacuum Your New Carpet
It’s always nice to take a bit of pride in your work and there’s no better way of seeing your new carpet in action than when it’s been nicely hoovered. Give it a hoover and then you’ll see you have just fitted a wonderful carpet for a fraction of the price.
Fitting carpets really isn’t that hard and it can be done with just a bit of time and effort. You will need to make a small investment to purchase the tools needed, but it’s a great investment as you’ll be able to use them for future projects.
What power is better to use vacuuming nylon carpet, in order not to damage the structure and fibres?